Our first design assignment was to create our dream dorm room. In order to do this, I used Autodesk Homestyler, an online designing website that allows me to create and design houses and structures. Since this was my first time using Homestyler, this assignment became a expedition to understand Homestyler. Throughout the work, I learned many new features about Homestyler, including how the Homestyler designer worked, and how each tool worked. Also, I learned how take different shots of the floor plan, whether by a screenshot or a 360 panorama. There were a couple difficulties while working, as Homestyler did freeze quite a few times due to extreme lag, and sometimes, the items would attach to the wrong places and refuse to move, forcing me to spend lots of time resetting and moving it again. Overall, it was a fun and intriguing learning assignment, and I ultimately finished my ideal dorm room for college with everything I could ever want. Attached below are a 2-D and 3-D screenshot, an interactive design, and a couple interactive panoramas of my ideal dorm room. Feel free to take a look around the design of my dream dorm room.
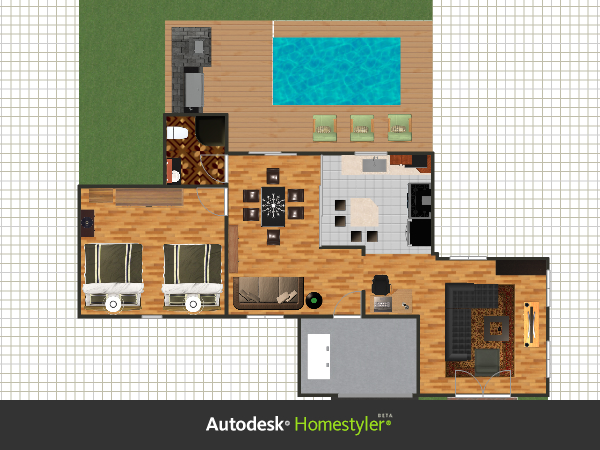
Here is the 2-D screenshot of the dorm room floor plan.
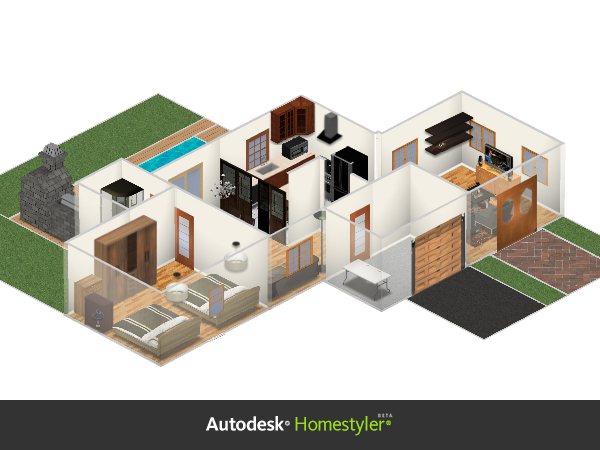
Here is the 3-D screenshot of the floor plan.
Here is an interactive design of the floor plan. Click and drag your cursor to move around the design, and scroll to zoom in or out.
Here are a couple panoramic views of the floor plan. Hover the cursor over the arrows to turn the camera, and use the scroll to zoom in and out.
1) Dorm Living Room
2) Dorm Dining Room
3) Dorm Kitchen
4) Dorm Bedroom
